Hello there folks.
I have been busy recently cutting my teeth on getting to grip with crypto-currency mining. Many people have heard of Bitcoin, but there are also many other coins you can mine see link for the top 100: https://coinmarketcap.com/ . Personally I am Mining Vertcoin, which can only be mined using GPU / CPU and are ASIC resistant. If there is any interest I might put a blog up on how to setup the software for mining, we shall see…
Anyway, if you are mining or using Crossfire of SLI, you will probably run into the problem that in your standard case two fof the PCI express slots (used for GPUs) are next to each other, this means that the one of the cards will more than likely overheat or least run hotter than they could run. In this vein a recent advert for “mega miners” caused me to raise my eyebrows slightly: https://www.cyberpowersystem.co.uk/landingpages/megaminerpc/
As you can see from that link two of the cards are right next to each other – not ideal.
This is exactly what happened to me when I decided to build a dedicated mining computer – or mining rig as they are known – One of my cards was getting too hot!
Mining rigs are designed to run 24/7 and with the GPU maxed out at all times. This obviously causing the card to generate a lot of heat. Heat is not especially a problem for modern graphics cards, however you should try and keep cards at 75 deg C or lower if possible. My card however was approaching closer to 90 deg C
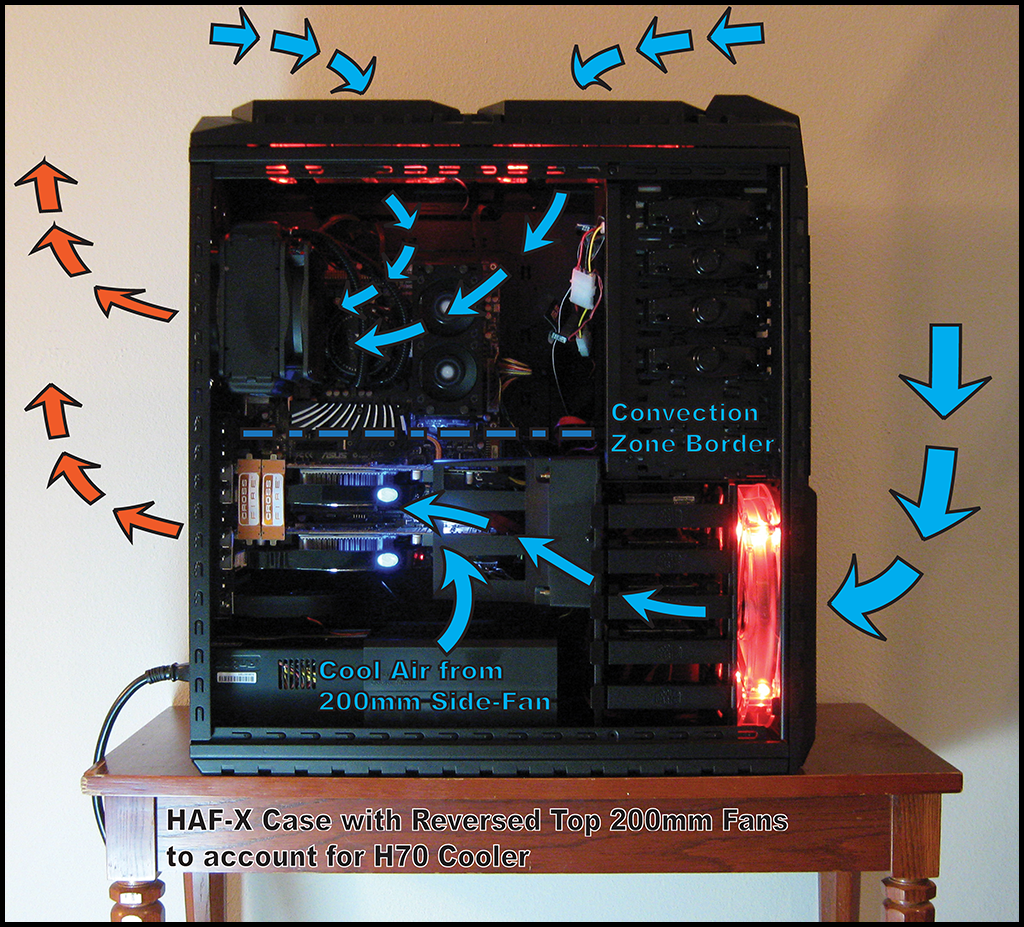
Whilst constructing my mining rig I was trying to keep things as simple as possible to keep the costs down low, but also so I can use my computer normally if mining Vertcoins didn’t work out. To that end I didnt want to go down the water cooling route but instead got a case with massive amount of air-cooling. Enter the coolermaster HAF-X.
This case is big, and even comes with wheels you can attach to the bottom. This also gives forth to other advantages such as the ability to raise one card up slightly higher in order to increase air flow. And that is exactly what I did.
Please note that not all cases are as generous in size and may not allow you to rasie your card up and still has the side panel on, however if you don’t mind having the side panel off, it will work for pretty much any case.
Problem:
One graphics is overheating because it is next to another one.
Solution:
Raise one card up slightly higher in order to increase air flow.
So as this is a hardware tutorial instead of a software tutorila I will give you a list of equipment needed, exactly what I used for a 2 slot graphics card (MSI R9 270):
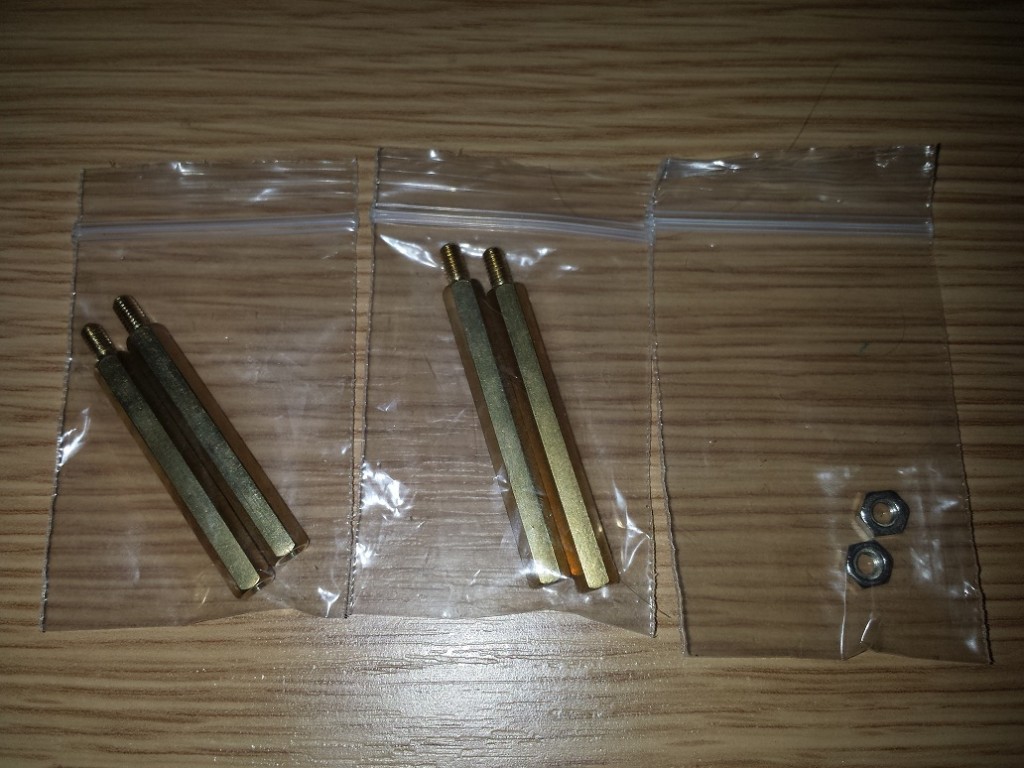
1). 2 x 35mm Brass Hex Standoff Pillar Male (Standoff)
2). 2 x 40mm Brass Hex Standoff Pillar Male (doesn’t necessarily need to be 40mm – you can use – Standoff )
3). 2 x 3mm Nuts
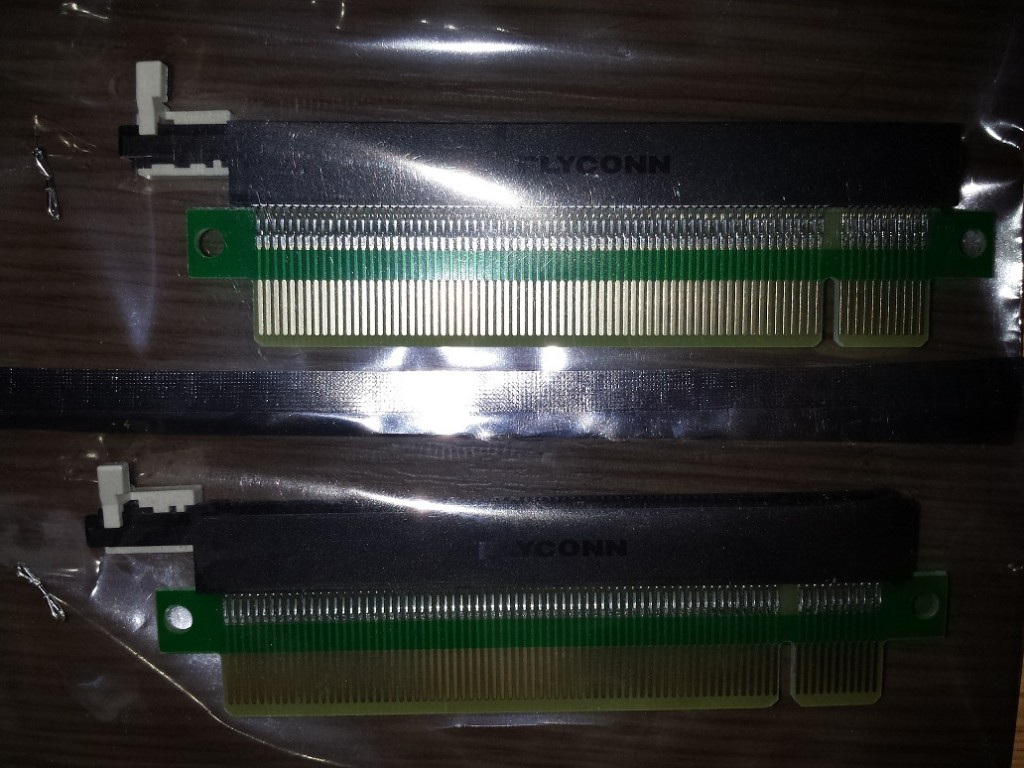
4). 2 x PCI-E Express 16X Protector Extender Extension Riser Card Adapter (Riser)
Link: http://www.ebay.co.uk/itm/200928681722?ssPageName=STRK:MEWNX:IT&_trksid=p3984.m1439.l2649
5). 2 x Case screws
6). 4 x Small washer
The total cost of this should be no more than £15
Now comes the fun part.
I have done all the measurements necessary to make sure this all works, however I urge you to check your own setup in case there is an anomaly.
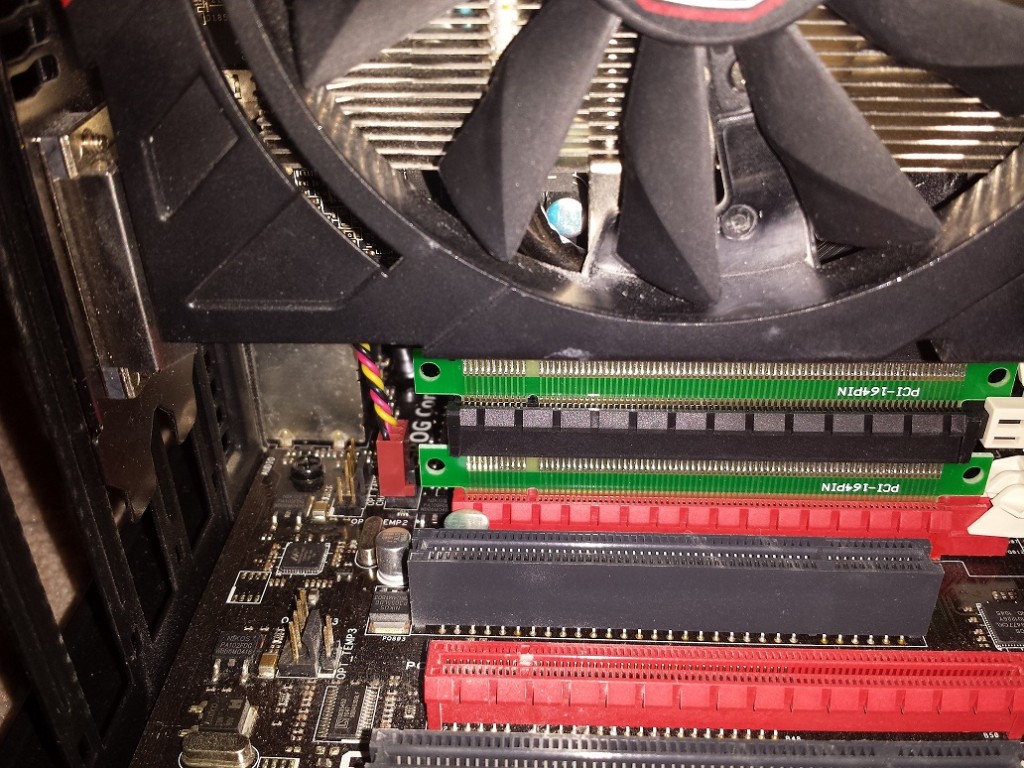
The first thing you need to know is that you are going to put one riser card into the other this will effectively raise up the graphics card by 38mm. This is important because one 35mm standoff is not high enough you need to add a nut to make it 38mm.
The first thing to do is attach the two 35mm standoff to the case by placing them on top of the expansion slot(s) you wish to raise them up on and then put one of the nuts underneath it. This is necessary to raise height of the expansion slot by 38mm.
Next you put the graphics card into the two connected riser cards. Next you can insert the graphics card and riser card combo into the PCI express slot where you want to raise the card up.
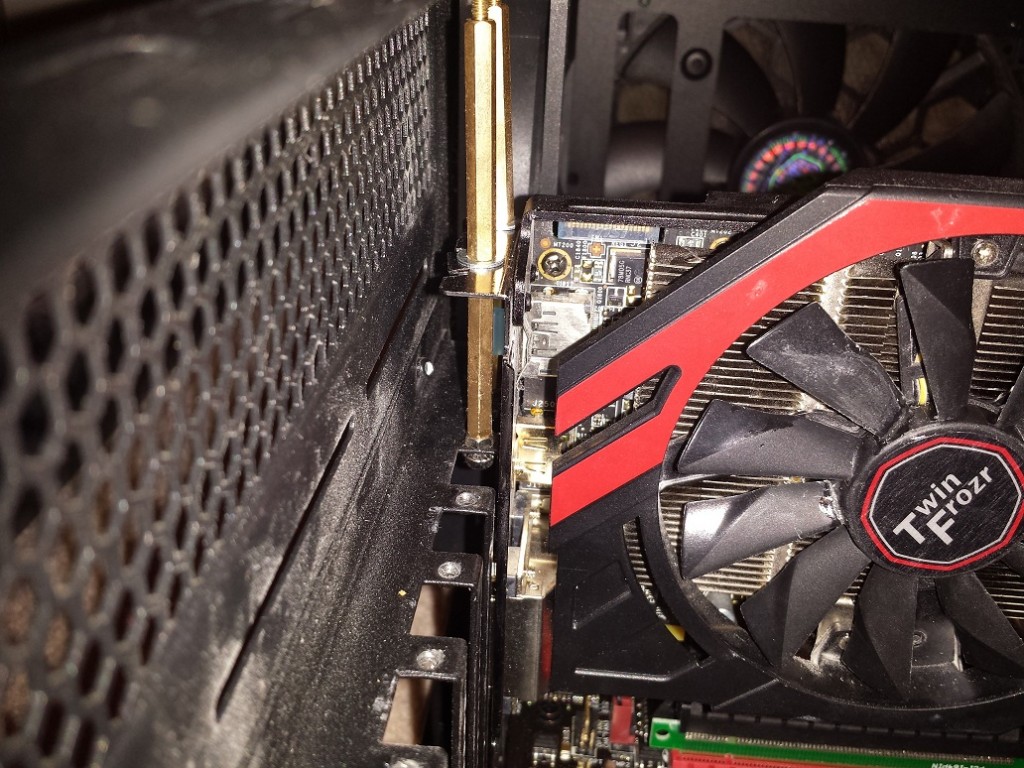
After that you will need to use the 4 washers; one for either side of the graphics card screw holes to hold it in place firmly. Then use the 40mm Standoffs to screw in over the top.
Once this is done you should see something like this:
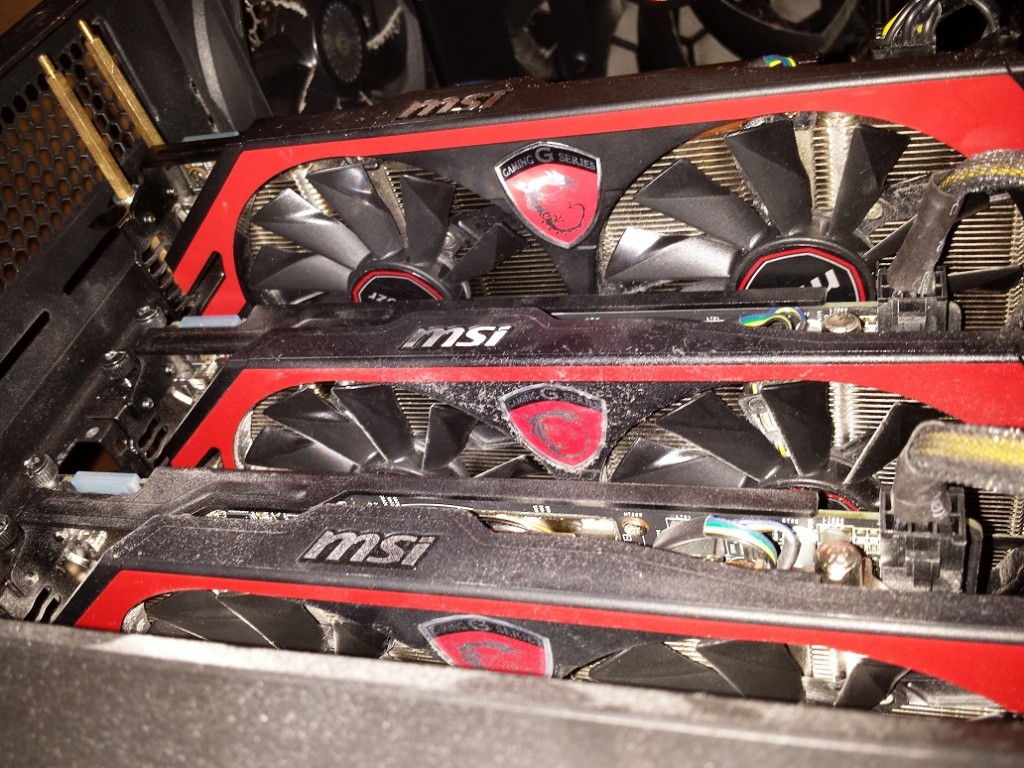
Next you can add in your other graphics cards and you can immediately see the benefit of doing this:
As for me my card now runs consistently under 75 deg C. Happy Days!
Hope this helps / inspires someone – also use these iunstructions at your own risk! (but it did work for me!)
-ThePcMechanic


Thank you so much for this. Having an X58 board, there were not a lot of options for PCI-e slots. It was starting to come down to building another rig with a new mobo/processor or just not getting another card. I think this is simple enough that even I can do it ; )
No problem, glad it helped someone. Nice choice of boards! Let me know how you get on. P.s.What are you mining?
-ThePcMechanic